A DIY Guide to Installing Under-Sink Water Filtration!
Installing a water filter under your sink is an excellent way to ensure clean and safe drinking water for you and your family. These systems are convenient, efficient, and take up minimal space. In this step-by-step guide, we will walk you through the process of installing a water filter under your sink, making it a DIY project that anyone can accomplish.
Tools and Materials You’ll Need:
Before you begin, gather the following tools and materials:
- Water filter system kit
- Adjustable wrench
- Screwdriver
- Tubing cutter
- Teflon tape
- Bucket or towel
- Pliers
- Drill (if necessary)
- Mounting hardware (if necessary)
Step 1: Choose a Suitable Location:
Select a location under your sink where you want to install the water filter. Ensure there’s enough space and accessibility for the filter and connections.
Step 2: Shut Off the Water Supply:
Turn off the cold water supply to your sink by closing the shutoff valve located on the water line under the sink. It’s essential to ensure that no water is flowing before proceeding.
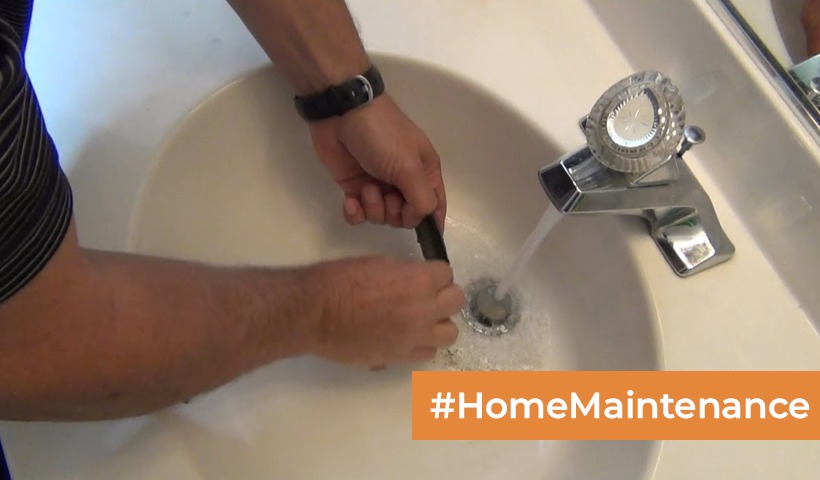
Step 3: Drain the Pipes:
Open the faucet to drain any remaining water in the pipes. Place a bucket or towel under the pipes to catch any excess water that may leak out during the installation.
Step 4: Mount the Filter:
If your water filter system comes with a mounting bracket, attach it to the chosen location under the sink using the appropriate hardware and a drill if necessary. Make sure it’s secure.
Step 5: Install the Filter Cartridge:
Insert the filter cartridge into the filter housing according to the manufacturer’s instructions. Some filters require you to wet the cartridge before installation.
Step 6: Connect the Water Line:
Attach one end of the supply water line to the cold water shutoff valve under the sink. Connect the other end to the water filter system’s inlet using an adjustable wrench. Ensure the connections are tight.
Step 7: Install the Faucet Adapter:
If your water filter system requires it, install the faucet adapter to the cold water line. This adapter connects to the filter system’s outlet. Use Teflon tape to secure the threads and prevent leaks.
Step 8: Connect Tubing:
Attach the tubing provided with your filter system to the filter’s outlet and the faucet adapter (if applicable). Use the tubing cutter to get precise, clean cuts, and secure the tubing with the provided fittings.
Step 9: Check for Leaks:
Turn on the cold water supply and check for any leaks around the connections. If you see any leaks, tighten the fittings or connections as needed.
Step 10: Flush the System:
Run the cold water for a few minutes to flush out any air or residual carbon particles from the filter cartridge. This ensures that you have clean water flowing through the system.
Step 11: Test Your Water:
Fill a glass with water from your new under-sink filter and taste the difference! You should now have fresh, filtered water ready for drinking and cooking.
Installing a water filter under your sink is a practical and cost-effective way to enjoy clean and safe drinking water at home. By following this step-by-step guide and consulting the manufacturer’s instructions provided with your filter system, you can complete the installation with confidence and enjoy the benefits of purified water for you and your family.
Disclaimer: The views expressed above are for informational purposes only based on industry reports and related news stories. PropertyPistol does not guarantee the accuracy, completeness, or reliability of the information and shall not be held responsible for any action taken based on the published information.