Elevate Your Decor: Chalk Paint DIY Tips and Tricks!
When it comes to transforming furniture and decor, chalk paint has become a favorite tool for DIY enthusiasts and interior designers alike. Its versatility, ease of use, and unique finish make it a top choice for breathing new life into tired, old items. In this DIY guide, we’ll explore the world of chalk paint, from what it is to how to use it effectively for your projects.
Understanding Chalk Paint
Chalk paint, contrary to what the name might suggest, is not made from chalk but rather from a mixture of latex paint, plaster of Paris, or other ingredients. It’s known for its matte, velvety finish and its ability to adhere to various surfaces without extensive prep work.
Key characteristics of chalk paint:
- No Sanding or Priming: One of the main draws of chalk paint is that it typically doesn’t require extensive sanding or priming before use. It adheres well to most surfaces.
- Matte Finish: Chalk paint dries to a matte, slightly chalky finish that can be left as is or sealed with wax or a clear topcoat for added durability.
- Easy to Distress: Chalk paint is excellent for achieving a distressed or aged look, and it can be sanded or scraped to reveal underlying layers.
- Wide Color Range: Chalk paint comes in a wide range of colors, allowing for endless possibilities in your projects.
- Suitable for Furniture, Walls, and More: While commonly used on furniture, chalk paint can also be applied to walls, glass, metal, and more.
DIY Steps for Using Chalk Paint
Materials You’ll Need
- Chalk paint
- A paintbrush or roller
- Clean, lint-free rags
- Sandpaper (for distressing, if desired)
- Clear wax or topcoat (for sealing, if desired)
- Drop cloths to protect your workspace
- Optional: brushes for decorative effects
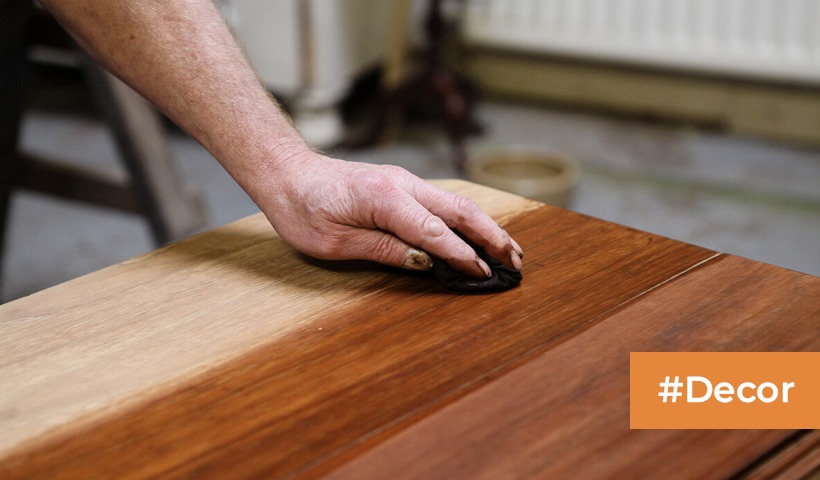
Step 1: Prepare the Surface
Clean your piece thoroughly to remove any dirt, grease, or old finish. Lightly sand any rough patches if needed.
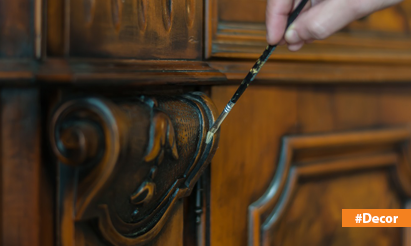
Step 2: Apply Chalk Paint
Stir your chalk paint well, then apply an even coat using a brush or roller. Most projects will require two coats for full coverage. Allow each coat to dry completely before proceeding.
Step 3: Distressing (Optional)
To achieve a distressed look, gently sand the edges and corners of your piece after the paint is dry. Wipe away any dust.
Step 4: Apply Wax or Topcoat (Optional)
If you want added durability or a different finish, apply clear wax or a topcoat according to the product’s instructions. This step is especially important if your piece will receive heavy use.
Step 5: Let It Cure
Allow your piece to cure fully, which typically takes a few days to a few weeks, depending on environmental conditions and the specific chalk paint used.
Step 6: Decorate and Enjoy
Once your chalk-painted piece has cured, you’re free to decorate with it or use it as desired. Whether it’s a repurposed table, a freshly painted wall, or a rejuvenated piece of decor, your DIY project is ready to shine.
Chalk paint is a versatile and user-friendly tool for DIY enthusiasts and creative individuals. With its easy application, matte finish, and the possibility of distressing and sealing, it offers endless opportunities to breathe new life into your home and furniture. So, grab your brushes, get creative, and watch as your DIY projects come to life with the charm of chalk paint.
Disclaimer: The views expressed above are for informational purposes only based on industry reports and related news stories. PropertyPistol does not guarantee the accuracy, completeness, or reliability of the information and shall not be held responsible for any action taken based on the published information.