Concrete Artistry: A DIY Guide to Staining Your Surfaces!
Concrete, once considered a utilitarian material for construction, has evolved into a versatile canvas for artistic expression. Staining concrete is a fantastic way to breathe life into plain, gray surfaces, whether it’s a driveway, patio, or interior floor. This DIY guide will walk you through the steps to stain concrete and unleash your creativity in transforming your spaces.
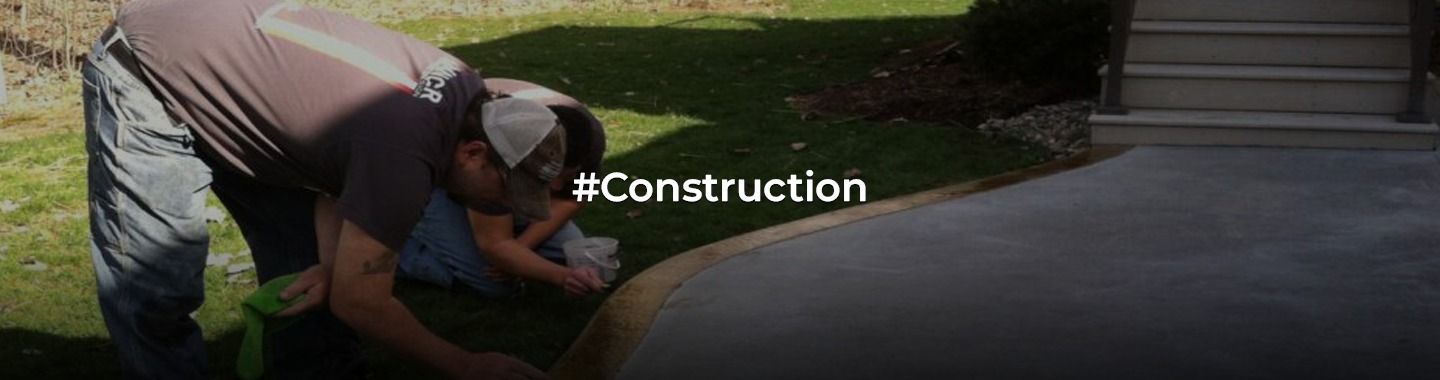
Materials and Tools You’ll Need:
Before you begin, gather the necessary materials and tools:
Materials:
- Concrete stain: Choose between acid-based or water-based stains, depending on your desired effect.
- Concrete cleaner: To remove dirt, grease, and existing coatings.
- Concrete etcher (if needed): For preparing the surface, especially if it’s smooth or sealed.
- Painter’s tape: For protecting adjacent surfaces you don’t want to stain.
- Sealer: To protect the stained surface and enhance its longevity.
- Broom or vacuum: For cleaning the surface.
- Sprayer or brush: To apply the stain.
- Safety gear: Including gloves, goggles, and a respirator mask for protection.
- Bucket and scrub brush: For cleaning and neutralizing the surface.
Tools:
- Pressure washer (optional): For cleaning larger concrete surfaces.
- Paint roller and extension pole (optional): For applying sealer.
- Drop cloths or plastic sheeting: To protect adjacent areas from stain and sealer.
Step-by-Step Guide to Staining Concrete:
Step 1: Prepare the Surface
- Clean the Surface: Sweep or vacuum the concrete surface to remove dust and debris. If it’s a large area or particularly dirty, consider using a pressure washer to thoroughly clean it. Use a concrete cleaner to remove any stains, dirt, or grease. Rinse the surface well.
- Etch the Concrete (if needed): If your concrete surface is smooth or previously sealed, you may need to etch it using a concrete etcher. This step helps the stain adhere better.
Step 2: Protect Adjacent Surfaces
Use painter’s tape and drop cloths or plastic sheeting to protect any adjacent surfaces or areas you don’t want to stain.
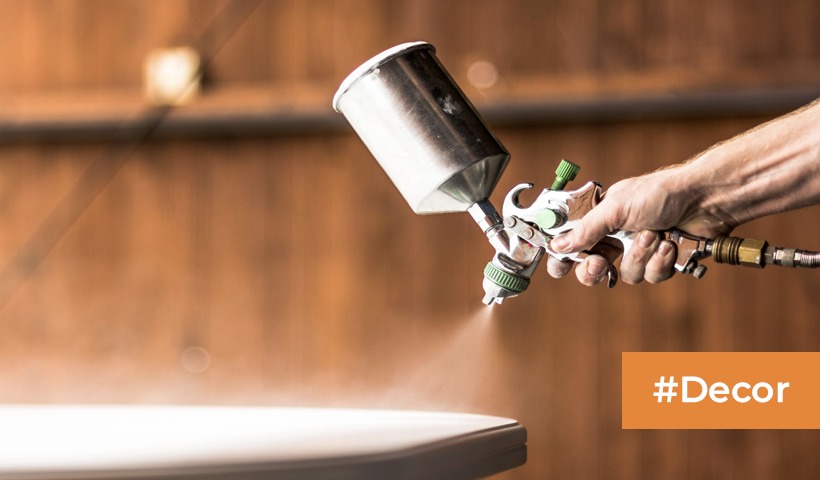
Step 3: Apply the Concrete Stain
- Mix the Stain: If using an acid-based stain, mix it with water according to the manufacturer’s instructions. If using a water-based stain, it’s typically ready to use without dilution.
- Test a Small Area: Before applying the stain to the entire surface, test it on a small, inconspicuous area to ensure it achieves the desired color and effect.
- Apply the Stain: Using a sprayer or brush, apply the stain evenly to the concrete surface. Work methodically, starting from one end and moving toward an exit point to avoid stepping on freshly stained areas. Apply multiple coats if you want a deeper color.
Step 4: Let the Stain Dry
Allow the stain to dry for the time recommended by the manufacturer. This usually ranges from a few hours to a full day, depending on the type of stain used.
Step 5: Neutralize and Clean
If you used an acid-based stain, you’ll need to neutralize the surface to stop the staining process. Create a mixture of baking soda and water, scrub it onto the stained surface, and then rinse thoroughly.
Step 6: Apply the Sealer
- Mix the Sealer: Prepare the sealer according to the manufacturer’s instructions.
- Apply the Sealer: Using a paint roller and extension pole, apply a thin, even coat of sealer to the stained concrete. Let it dry for the recommended time.
- Add Additional Coats (optional): Depending on the level of protection and gloss you desire, you can apply multiple coats of sealer, allowing each coat to dry between applications.
Step 7: Enjoy Your Stained Concrete
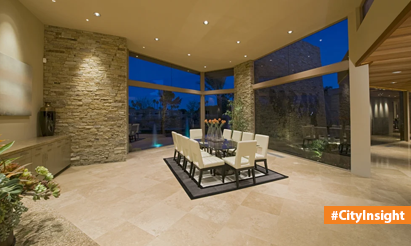
Once the sealer is dry, you can enjoy your newly stained concrete surface. Whether it’s an artistic design on your patio or a bold statement in your living room, stained concrete can breathe new life into your spaces, making them both beautiful and durable.
Staining concrete is a rewarding DIY project that allows you to personalize your surroundings and protect your concrete surfaces simultaneously. With the right materials, tools, and techniques, you can transform dull concrete into stunning works of art.
Disclaimer: The views expressed above are for informational purposes only based on industry reports and related news stories. PropertyPistol does not guarantee the accuracy, completeness, or reliability of the information and shall not be held responsible for any action taken based on the published information.