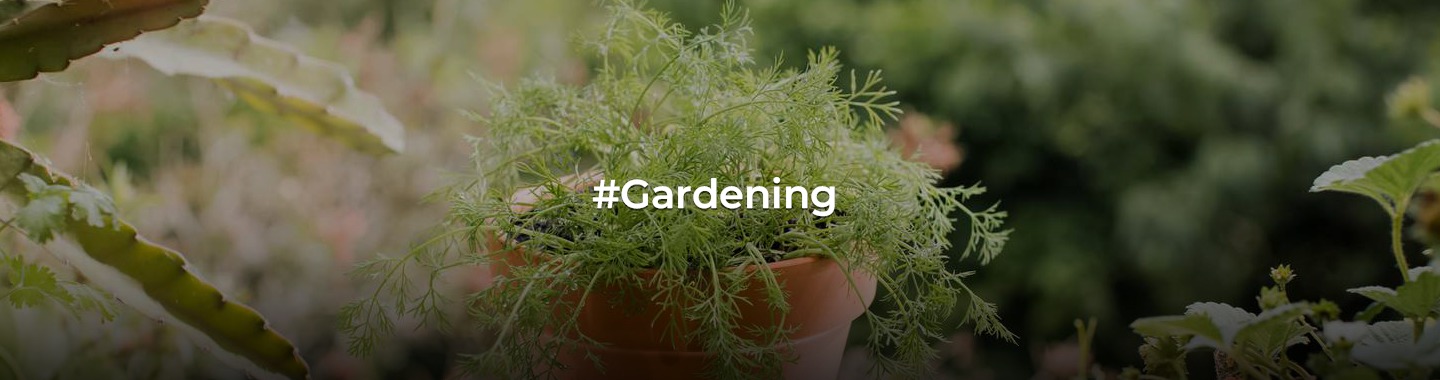
Dainty Dill Delights: How to Grow Dill Indoors!
Dill, with its feathery leaves and distinctive aroma, is a versatile herb that adds a burst of flavor to salads, soups, and a variety of dishes. The good news is that you don’t need a garden to enjoy the fresh, tangy taste of dill – it thrives happily when grown indoors. In this comprehensive guide, we’ll take you through the step-by-step process of cultivating dill indoors, ensuring a constant supply of this delightful herb for your culinary creations.
Getting Started:
- Selecting Dill Varieties: Dill comes in various varieties, with the most common being Anethum graveolens. Choose a variety that suits your taste preferences and the available space for indoor gardening.
- Choosing the Right Container: Select a container that is at least 12 inches deep with good drainage holes. Dill develops a taproot, so a deeper pot allows for optimal root growth. Ensure the container complements your indoor space and has proper drainage.
- Preparing the Soil: Dill thrives in well-draining soil with a slightly acidic to neutral pH. Use a quality potting mix or create a blend by combining potting soil, perlite, and compost. This provides the necessary nutrients while ensuring good aeration.
Planting:
- Planting Dill Seeds: Dill is commonly grown from seeds. Sow the seeds about 1/4 inch deep in the soil, and water lightly. Dill has a long taproot, so it’s best to plant it directly in the chosen container rather than transplanting later.
- Sunlight Requirements: Dill loves sunlight, so place your pot in a location where it receives 6-8 hours of direct sunlight daily. A south or west-facing window is ideal. If natural light is limited, consider using a grow light to supplement.
Care and Maintenance:
- Watering: Keep the soil consistently moist, but not soggy. Water the plant when the top inch of soil feels dry. Dill is relatively drought-tolerant, so be cautious not to overwater, as this can lead to root rot.
- Temperature and Humidity: Dill prefers cooler temperatures, ideally between 60-70°F (15-21°C). Ensure good air circulation around the plant to prevent humidity-related issues. If your indoor environment is dry, occasional misting can be beneficial.
- Fertilizing: Dill doesn’t require heavy feeding. A balanced, water-soluble fertilizer applied every 4-6 weeks during the growing season (spring and summer) is sufficient. Avoid over-fertilizing, as it can lead to leggy growth.
Harvesting:
- Timing for Harvest: You can start harvesting dill when the plant reaches a height of 12-18 inches, usually around 6-8 weeks after planting. Harvesting is best done before the plant flowers for the most robust flavor.
- Harvesting Method: Use scissors or pruning shears to snip off the leaves and stems, starting from the top. Regular harvesting encourages bushier growth and a more extended harvesting period.
Growing dill indoors is a delightful and rewarding experience that allows you to enjoy the fresh, tangy taste of this versatile herb year-round. By following these steps, you’ll be cultivating a thriving dill plant, ensuring a steady supply of aromatic leaves for your culinary adventures. Embrace the joy of nurturing your own dill and enhance your dishes with the distinct flavor that this herb brings.
Disclaimer: The views expressed above are for informational purposes only based on industry reports and related news stories. PropertyPistol does not guarantee the accuracy, completeness, or reliability of the information and shall not be held responsible for any action taken based on the published information.