Transforming Waste into Gold: How to Make Vermicompost in Your Backyard!
Vermicompost is a nutrient-rich organic fertilizer and soil amendment produced through the process of composting organic waste materials using earthworms. It is sometimes referred to as worm castings or worm compost. Vermicompost is highly beneficial for plants as it improves soil structure, enhances nutrient content, increases water retention, and promotes healthy microbial activity in the soil.
Here’s a step-by-step guide on how to make vermicompost at home:
- Choose a suitable container: You can use a plastic or wooden container with a lid, such as a bin or a wooden box. Ensure it has drainage holes at the bottom.
- Prepare bedding material: Shredded newspaper, cardboard, dry leaves, or straw can be used as bedding material. Soak the bedding in water and squeeze out any excess moisture.
- Add organic waste: Place the soaked bedding material in the container and add a layer of kitchen scraps, vegetable peels, coffee grounds, tea bags, crushed eggshells, or other organic waste. Avoid adding meat, dairy, oily food, or pet waste as they may attract pests or produce unpleasant odors.
- Introduce the worms: Redworms (Eisenia fetida or Lumbricus rubellus) are commonly used for vermicomposting. Add a handful of worms to the container and gently mix them into the bedding and organic waste.
- Maintain the environment: Ensure the bedding remains moist but not waterlogged. If it feels too dry, mist it with water. Keep the container in a shaded area or cover it with a dark cloth to create a dark and moist environment preferred by worms.
- Feed the worms regularly: Add small amounts of organic waste regularly, burying it under the bedding to avoid attracting fruit flies or other pests. You can create layers of bedding and organic waste alternately.
- Manage the composting process: Every few weeks, gently lift the top layer of bedding to observe the progress. The organic waste should gradually turn into dark, crumbly vermicompost. If there are any undecomposed materials, you can remove them or let the worms continue their work.
- Harvest the vermicompost: After a few months, when most of the organic waste has been converted into vermicompost, you can harvest it. Push the vermicompost to one side of the container and add fresh bedding and organic waste to the other side. The worms will migrate to the fresh food source, allowing you to collect the vermicompost from the side they vacated.
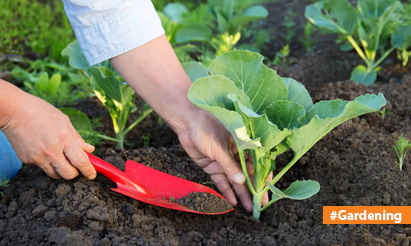
- Use the vermicompost: Use the harvested vermicompost as a natural fertilizer by mixing it into potting soil, garden beds, or adding it to the base of plants. It will provide essential nutrients and improve the overall health and productivity of your plants.
Remember to monitor the moisture level, maintain proper temperature, and avoid overfeeding the worms. With time, you’ll have a continuous supply of nutrient-rich vermicompost for your gardening needs.
Disclaimer: The views expressed above are for informational purposes only based on industry reports and related news stories. PropertyPistol does not guarantee the accuracy, completeness, or reliability of the information and shall not be held responsible for any action taken based on the published information.


