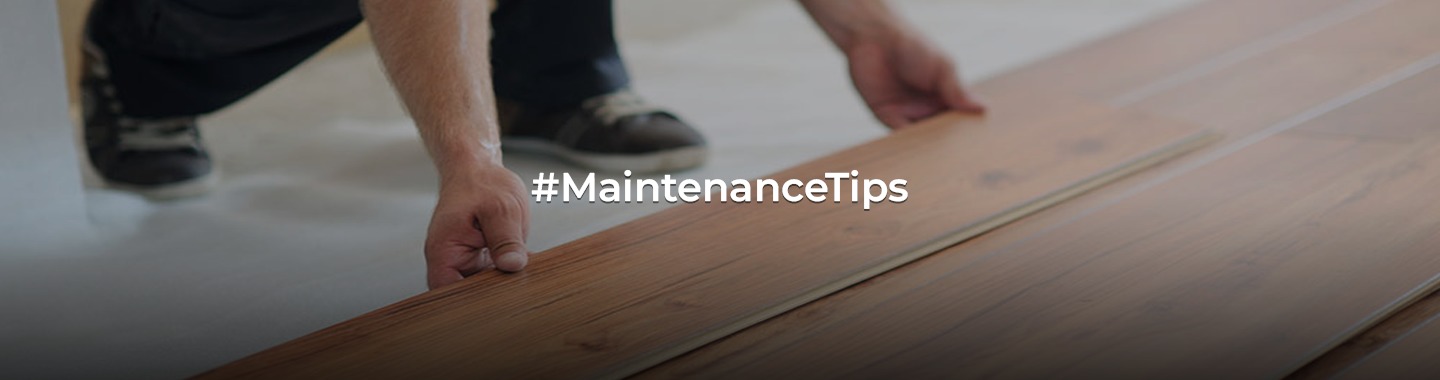
Easy as 1-2-3: Your Step-by-Step Laminate Flooring Installation Tutorial!
Laminate flooring is a popular choice for homeowners looking for an affordable, durable, and attractive flooring option. It’s a versatile material that mimics the look of hardwood, tile, or stone, and it’s relatively easy to install. With the right tools and a bit of patience, you can achieve a professional-looking result. Here’s a step-by-step guide to help you with your laminate flooring installation project.
Materials and Tools You’ll Need:
- Laminate flooring planks
- Underlayment (if not pre-attached)
- Spacers
- Tape measure
- Utility knife
- Tapping block
- Pull bar
- Hammer
- Saw (circular or miter)
- Safety glasses and ear protection
Step 1: Prepare the Subfloor
Before you begin, ensure that the subfloor is clean, flat, and dry. Remove any debris or loose material. If there are any imperfections or uneven areas, address them with floor leveling compound. Lay down a moisture barrier if you’re installing over concrete.
Step 2: Acclimate the Flooring
Allow the laminate planks to acclimate to the room’s conditions for at least 48 hours. This helps prevent warping or buckling after installation.
Step 3: Install the Underlayment (if needed)
If your laminate flooring doesn’t have a pre-attached underlayment, roll out a separate underlayment and tape the seams. Make sure it covers the entire floor.
Step 4: Lay the First Row
Start in the corner of the room. Place spacers along the walls to create an expansion gap (usually around ¼ inch). This allows for natural expansion and contraction of the flooring.
Step 5: Install the Planks
Begin the first row by placing the tongue side against the wall. Use the tapping block and a hammer to gently tap the planks together. Continue this process for the entire row.
Step 6: Cut Planks as Needed
Measure and cut planks to fit at the end of each row. A circular saw or miter saw is typically used for this. Remember to wear safety glasses and ear protection when cutting.
Step 7: Stagger the Joints
Stagger the end joints at least 12 inches apart in adjacent rows. This creates a more natural look and adds stability to the floor.
Step 8: Install Remaining Rows
Continue installing planks row by row, using spacers along the walls. Make sure the seams between planks are tight.
Step 9: Fit Around Doorways and Obstacles
When you encounter doorways or irregular shapes, trace the outline onto the plank and cut accordingly. Use a pull bar and hammer to snugly fit planks in tight spaces.
Step 10: Install Transition Strips
If transitioning to another type of flooring, install transition strips. They provide a clean and safe transition between different surfaces.
Step 11: Trim and Install Baseboards
Trim the bottoms of door casings to fit the height of the new flooring. Install baseboards or quarter-round molding to cover the expansion gap around the perimeter.
Step 12: Remove Spacers and Clean
Remove the spacers and clean up any debris. Sweep or vacuum the floor thoroughly.
Congratulations! You’ve successfully installed laminate flooring in your space. Remember, taking your time and paying attention to detail will result in a professional-looking finish. With proper care, your new laminate floor will provide a beautiful and durable surface for years to come. Happy flooring!
Disclaimer: The views expressed above are for informational purposes only based on industry reports and related news stories. PropertyPistol does not guarantee the accuracy, completeness, or reliability of the information and shall not be held responsible for any action taken based on the published information.