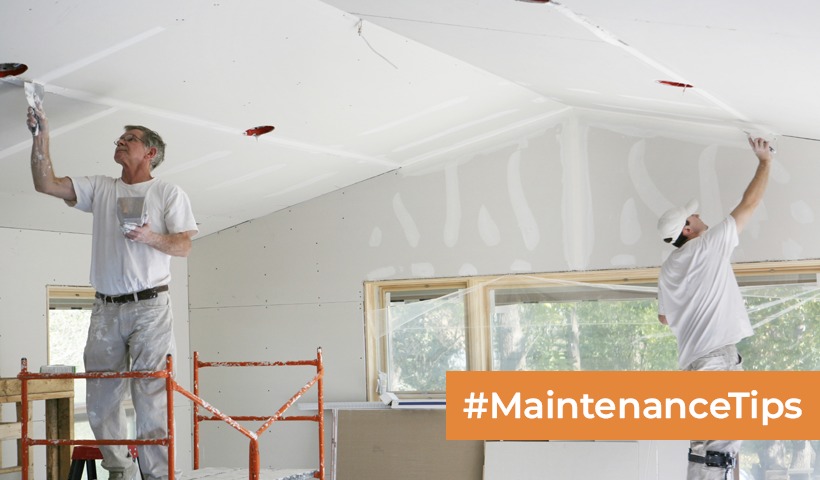
Exterior Painting Made Easy: Your Comprehensive DIY Guide!
A fresh coat of paint can do wonders for your home’s exterior, enhancing its curb appeal and protecting it from the elements. Whether you’re looking to update your home’s look or simply maintain its condition, painting the exterior is a valuable investment. In this comprehensive guide, we’ll take you through the steps and tips on how to paint your home’s exterior effectively and achieve professional-looking results.
Step 1: Gather Your Materials and Tools
Before you start, ensure you have all the necessary materials and tools:
- Exterior paint
- Primer (if needed)
- Paintbrushes and rollers
- Extension poles
- Paint trays
- Drop cloths or plastic sheeting
- Painter’s tape
- Sandpaper
- Caulk and caulk gun
- Putty knife or scraper
- Ladder or scaffolding
Step 2: Prepare Your Home’s Exterior
Proper preparation is key to a successful paint job:
- Remove dirt and loose paint: Start by power washing or scrubbing the exterior to remove dirt, dust, and loose paint. Allow the surface to dry completely.
- Repair damaged areas: Use a putty knife or scraper to patch holes, cracks, and gaps in the siding. Apply caulk to seal gaps around windows, doors, and trim.
- Sand rough areas: Sand any rough or uneven surfaces to create a smooth painting canvas.
- Protect windows and fixtures: Cover windows, doors, and fixtures with plastic sheeting or painter’s tape to prevent accidental paint splatters.
Step 3: Choose the Right Paint
Select a high-quality exterior paint suitable for your home’s siding material (wood, stucco, brick, etc.). If the existing paint is in good condition, you may not need a primer. However, if you’re changing the color significantly or dealing with bare wood or other porous surfaces, consider using a primer for better adhesion and coverage.
Step 4: Start Painting
Begin by cutting in, which means using a paintbrush to paint areas that are difficult to reach with a roller, such as corners, edges, and trim. Afterward, you can use a roller to paint larger, flat surfaces like siding.
- Work from the top down: Start with the highest point of your house and work your way down. This helps prevent drips and ensures even coverage.
- Apply thin, even coats: Avoid heavy application to prevent drips and uneven drying. Two coats are generally recommended for a durable finish.
- Maintain a wet edge: To avoid lap marks, always keep a wet edge by overlapping the previous stroke with the next one while the paint is still wet.
Step 5: Clean Up and Finish
Once you’ve finished painting:
- Remove masking and protective coverings from windows and fixtures.
- Clean your brushes, rollers, and other painting tools thoroughly with the appropriate cleaning agents.
- Dispose of any paint waste or empty containers according to local regulations.
- Step back and inspect your work for any missed spots or touch-ups needed.
Painting your home’s exterior can be a rewarding DIY project that revitalizes your property’s appearance and protects it from the elements. By following these steps and taking your time to prepare and paint properly, you can achieve professional-quality results. Remember that regular maintenance and repainting can help prolong the life of your home’s exterior and keep it looking beautiful for years to come.
Disclaimer: The views expressed above are for informational purposes only based on industry reports and related news stories. PropertyPistol does not guarantee the accuracy, completeness, or reliability of the information and shall not be held responsible for any action taken based on the published information.