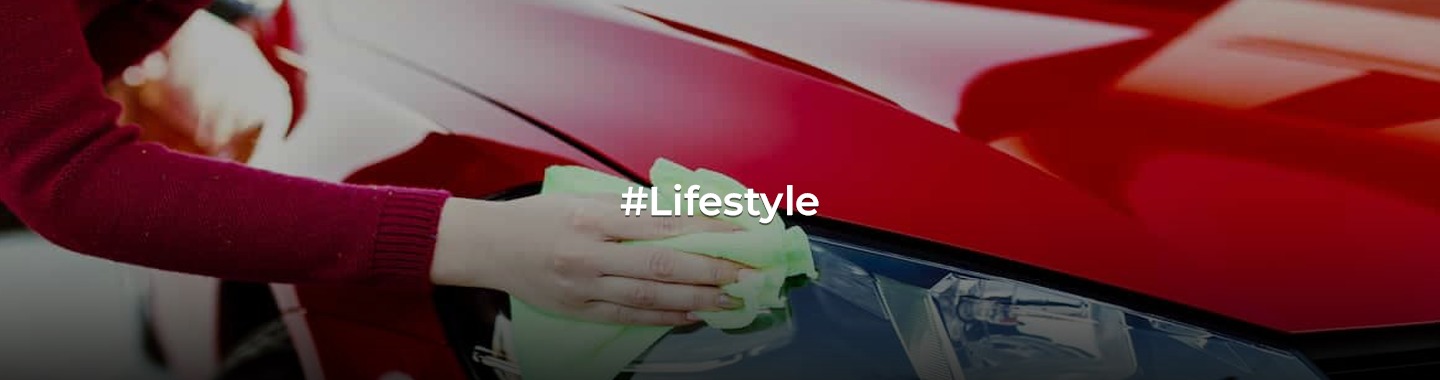
Headlights Like New: DIY Cleaning Methods You Need to Know!
Have you noticed that your car’s headlights have become cloudy, hazy, or discolored over time? This common issue not only affects the aesthetics of your vehicle but also compromises your safety while driving at night. Fortunately, you can restore the clarity of your headlights with some simple cleaning techniques. In this guide, we will walk you through the steps to clean your headlights and improve their performance.
Materials You’ll Need:
Before you begin, gather the following materials:
- Headlight Cleaning Kit: This can be purchased at an auto parts store and typically includes sandpaper, polishing compound, and a sealant.
- Masking Tape: To protect the surrounding paint from accidental scratches.
- Bucket of Water: For rinsing.
- Microfiber Towels: For drying and wiping.
- Spray Bottle with Soapy Water: A mixture of mild dish soap and water.
- Rubbing Alcohol: For final cleaning.
Step 1: Preparation
Start by preparing your vehicle and the work area:
- Park in a well-ventilated and shaded area. Direct sunlight can cause the cleaning products to dry too quickly.
- Turn off the headlights. You don’t want to accidentally switch them on while working on them.
- Mask the area around the headlights with tape. This will protect the paint from any accidental damage during the cleaning process.
Step 2: Wet Sanding
Wet sanding helps remove the outer layer of oxidation and haze from the headlights. Here’s how to do it:
- Dip a piece of fine-grit sandpaper (usually 1000 to 1500 grit) in a bucket of soapy water.
- Gently sand the headlight in a horizontal and then vertical motion. Keep the surface wet while sanding to prevent scratching.
- Continue sanding until the headlight surface feels smooth and you’ve removed the majority of the haze.
Step 3: Polishing
After wet sanding, your headlights may still appear hazy. Polishing helps restore clarity:
- Apply a small amount of polishing compound from the headlight cleaning kit onto a clean, damp cloth.
- Rub the compound onto the headlight using circular motions. Be sure to cover the entire surface.
- Continue to polish until the headlight becomes clear and shiny.
Step 4: Rinse and Dry
- Use a clean, damp microfiber towel to wipe off any remaining polishing compound.
- Rinse the headlight with clean water and dry it thoroughly with a separate microfiber towel.
Step 5: Apply Sealant
Most headlight cleaning kits include a sealant that helps protect the headlights from future oxidation:
- Follow the instructions on the kit to apply the sealant to the headlight surface. Typically, you’ll need to apply it evenly and let it dry for a specified time.
Step 6: Final Cleaning
- Wipe down the headlight with rubbing alcohol to remove any residue or fingerprints. This step ensures a clean and clear finish.
Step 7: Remove Masking Tape
- **Carefully remove the masking tape from around the headlights, ensuring you don’t pull off any paint.
Conclusion
Regular headlight maintenance is essential for both the appearance and safety of your vehicle. By following this step-by-step guide on how to clean headlights, you can restore their clarity and improve nighttime visibility. Remember to periodically check and clean your headlights to ensure they remain in top condition and contribute to your overall driving safety.
Disclaimer: The views expressed above are for informational purposes only based on industry reports and related news stories. PropertyPistol does not guarantee the accuracy, completeness, or reliability of the information and shall not be held responsible for any action taken based on the published information.